Create and Restore Windows 7 Image
It's not a matter of "if" your hard drive will ever fail–it's a matter of "when." So when your computer fails, how do you recover from that after replacing your hard drive? Everything is lost–your programs, your pictures, your email, everything. Restoring a computer using a system .ISO image is not a revolutionary idea, as major brand name manufacturers like HP, Dell and Acer have been using this technique for years. But it is now an integral part of the Windows 7 Operating System. So even if you do not have a brand name PC, you can now create your own .ISO disk image and have a recovery strategy in the event of a hard drive failure.
Create a System Image in Windows 7
To have an image to restore, you first need to create one. Why create an image? Imagine having to reinstall all of the programs you have installed over the course of several years (assuming you can find the program installation disks and their install key codes). And then imagine having to download several months worth of Windows Updates and other security patches. You can do that, certainly. But wouldn’t it be nice to restore an image with all of those updates and programs already in tact?
So what type of strategy should you have? We recommend making a system image immediately after installing Windows 7, or as soon as you can, thereafter. This way you know you have a clean, virus-free image you can always revert to. Put this copy in the closet and leave it there.
Next, get in the habit of creating image backups routinely. If you create an image at least every three months, you know going forward you have most of the security patches and latest downloads and programs installed. Having only one backup is fine, but creating these images routinely is the best option.
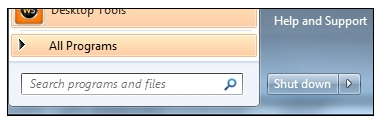
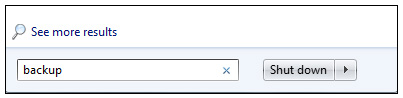
Step 1 - To begin, type “backup” into the Start>Run box and hit search. You will be taken to the Backup and Restore section.
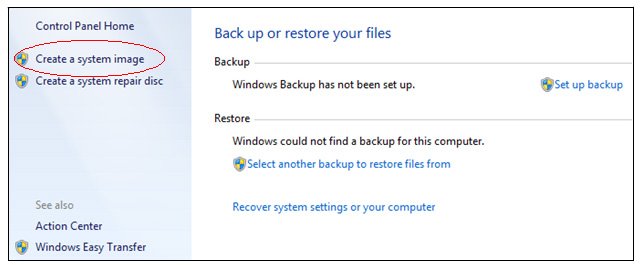
Step 2 - From here, you can select “Create a system image” or a “Create a system repair disk.” Begin with the system image.
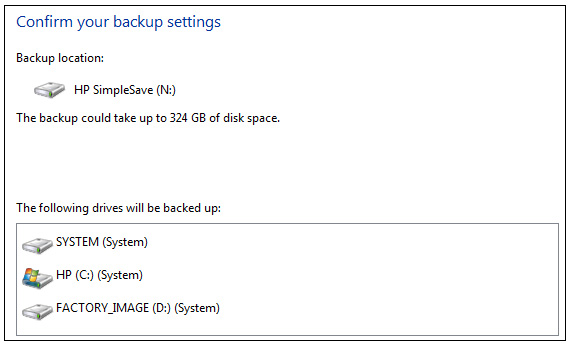
Step 3 - You will have the ability to select where you want to store the image. An external USB hard drive is the best option, as it will have the capacity to hold the entire image, as well as multiple images you’ll create in the future. You can also select a DVD option or an internal hard drive. You can even store the image on a network share.

Once you create the image, you will want to date it and hope you never have to use it. In a few months, create another. You will then want to create that System Repair Disk from the same section if you do not have an actual Windows installation DVD. The recovery DVDs from major brand names are useless. So be sure to create the System Repair Disk. If your system ever gets to the point where you can’t even boot into Safe Mode, you can boot to the System Repair Disk and try and fix the system or activate your most recent image.
Hard Drive Replacement
Replacing your hard drive is relatively trivial. Open the case and remove your current drive. Your hard drive is probably going to be a SATA drive if you have a modem PC. Older PCs might use a ribbon-cable drive called an IDE drive. You will want to confirm the style of hard drive you have and then proceed to find a replacement. Amazon is a great place to search for an Internal Hard Drive similar to the one you have. You can go with a larger size, but not a smaller one, so be sure to not the size of the drive prior to purchasing a new one.